Monthly Statistical Bulletins

Construction Guide in Pakistan

Construction Guide in Pakistan (Step-by-Step House Building Process 2025)

Building a house or any structure is not just about brick and mortar — it’s a systematic process that requires planning, design, budgeting, and technical supervision.

In this Construction Guide, you’ll learn step-by-step how buildings are constructed in Pakistan — from site selection and foundation to finishing and completion.

This guide is useful for civil engineers, students, contractors, and house owners who want to understand the construction workflow practically and accurately.

Step 1: Site Selection & Soil Testing

Before any construction work begins, the most important step is choosing the right site and understanding the soil.

1. Site Selection

Select a location that has:

Proper road access

Availability of utilities (water, gas, electricity)

No flood or drainage issues

Legal approval and land ownership documents

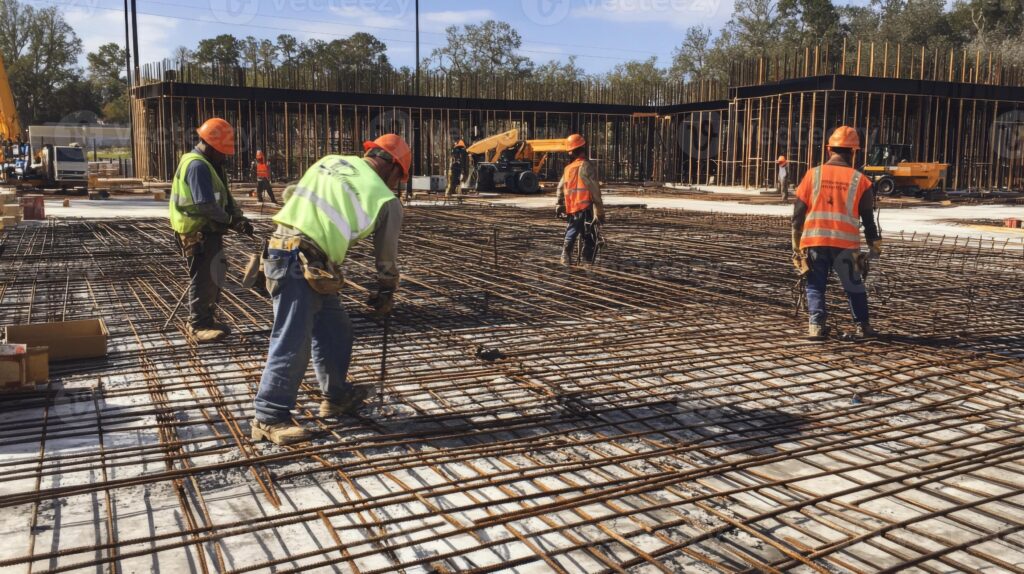
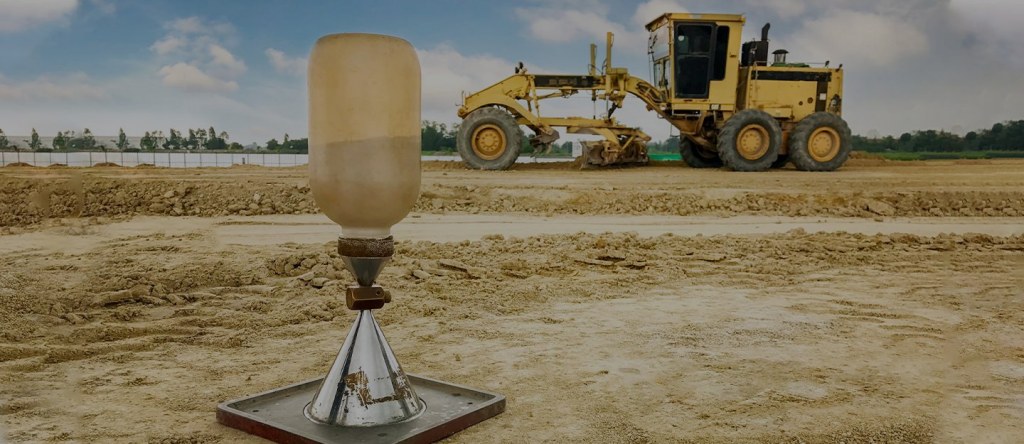
2. Soil Investigation

A geotechnical test checks soil bearing capacity and moisture.
In most Pakistani cities, soil varies from clay to sandy — each affects foundation design and cost.

💡 Tip: Weak soil needs deeper foundations or pile work.

Step 2: Planning & Design

1. Architectural Design

Architects prepare the layout and elevations according to your plot size and requirements.
Common software used: AutoCAD, Revit, SketchUp.

2. Structural Design

Civil engineers design beams, columns, slabs, and foundations to ensure stability against loads and earthquakes.
Tools: ETABS, SAFE, STAAD Pro.

3. Approvals

Get drawings approved from local authorities like CDA, LDA, PDA, or TMA before starting work.

👉 Watch: “How to Read Construction Drawings” on your YouTube channel.

Foundation Construction for Building

Step 3: Foundation Construction

1. Excavation

Excavate soil according to the approved layout and foundation depth.
Use machinery like excavators or manual labor depending on the project scale.

2. PCC & Footing Reinforcement

A Plain Cement Concrete (PCC) layer is poured to create a level base.
Then steel bars are placed according to design drawings.

3. Concrete Pouring & Curing

Concrete (1:2:4 or as specified) is poured and properly cured for 7–14 days.
Proper curing prevents cracks and ensures strength.

👉 Try our Foundation Cost Calculator.

Superstructure (Walls, Columns & Beams) construction for building

Step 4: Superstructure (Walls, Columns & Beams)

Once the foundation is complete, the main structure of the building is raised.

1. Columns & Beams

Columns transfer loads from slabs to the foundation.
Steel reinforcement must be tied accurately as per the design.

2. Brick Masonry

Walls are built using 1st Class Bricks and cement-sand mortar (1:6).
Maintain vertical alignment using plumb bob and level.

3. Lintel Beams & RCC Slabs

Lintel beams are placed above doors and windows; slabs are cast after shuttering and reinforcement checks.

💡 Tip: Keep curing continuous for at least 14 days for RCC members.

Roofing & Slab Work for Building

Step 5: Roofing & Slab Work

The roof or slab forms the top covering of the building.
Ensure:

  • Proper reinforcement placement

  • Correct cover blocks

  • Adequate vibration and compaction during concrete pour

Cure the slab with water and keep it covered to prevent shrinkage cracks.

Plumbing, Electrical & Mechanical Works (MEP) for Building construction in Pakistan

Step 6: Plumbing, Electrical & Mechanical Works (MEP)

1. Plumbing Work

Install pipes for water supply, drainage, and gas lines before plastering.
Use quality materials to avoid future leakage.

2. Electrical Work

Conduits and wiring are laid in walls and slabs before finishing.
Ensure safety with proper circuit breakers and earthing.

3. Mechanical Systems

For larger buildings, HVAC systems (heating, ventilation, and air conditioning) are also planned in this stage.

👉 Download: MEP Checklist (PDF).

Plasteing & Finishing Works of building in pakistan

Step 7: Plastering & Finishing Works

1. Internal & External Plaster

Smoothens walls for paint or tile work.
Common plaster mix: 1:4 (cement:sand).

2. Flooring

Tiles, marble, or granite flooring is laid after plaster and plumbing works are completed.

3. Doors & Windows

Install frames before plaster and fix shutters later for a clean finish.

Step 8: Painting & Decoration

After plaster and putty, apply primer, distemper, or emulsion paint.

Types of Finishes:

  • Distemper: Basic indoor finish

  • Plastic Paint/Emulsion: For premium finish

  • Weather Shield: For exterior protection

💡 Tip: Always apply two coats of primer and two coats of paint for durability.

Fixtures & Fittings in house

Step 9: Fixtures & Fittings

Fix electrical switches, light fittings, bathroom accessories, kitchen cabinets, and sanitary fixtures.
Test all systems before final handover.

Step 10: Exterior Work & Landscaping

Develop surroundings such as:

  • Boundary wall and gate

  • Driveway or paving

  • Lawn and plantation

These give your house a complete and aesthetic look.

Final Inspection & Handover

Step 11: Final Inspection & Handover

Before moving in:

  • Verify all plumbing and electrical systems

  • Ensure doors, windows, and paintwork are complete

  • Collect warranties, completion certificates, and utility connections

✅ Conclusion

Construction is a technical and systematic process that involves multiple steps from design to finishing.
By understanding this guide, you can save time, control cost, and ensure quality at every stage.

Scroll to Top